
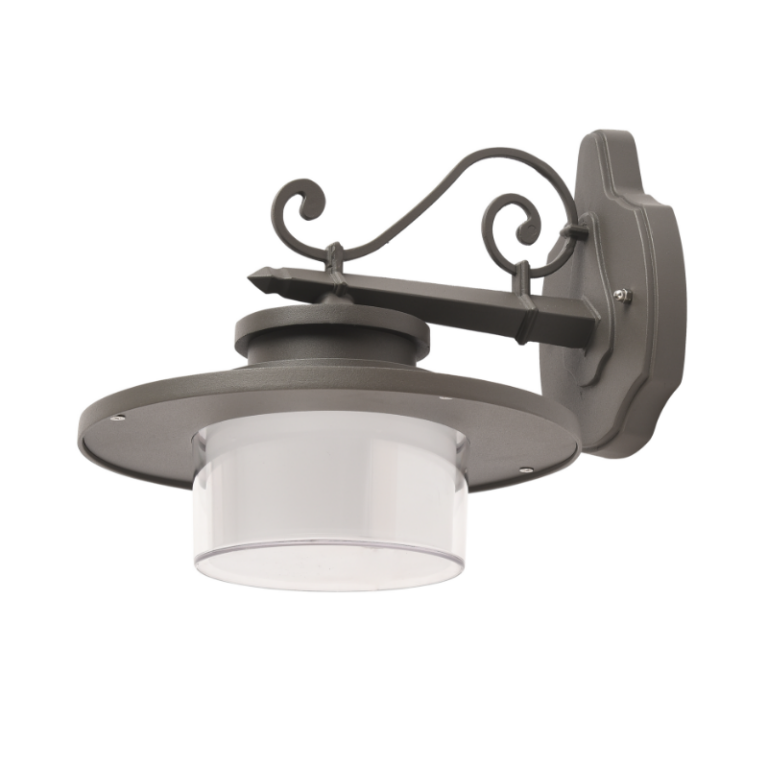
Problem-driven lead: why pier-mount glare matters now
Pier-mounted exterior fixtures are popular for promenades, plazas, and waterfronts because they give consistent pathway illumination. But when those fixtures create glare, light trespass, or visible streaking on façades, the architectural impact becomes a liability: visitor discomfort, complaints from neighbors, and non-compliance with local lighting ordinances. Start by checking the installed profile of an outdoor wall lamp used nearby—pier mounts often share optical problems and the same mitigation strategies.
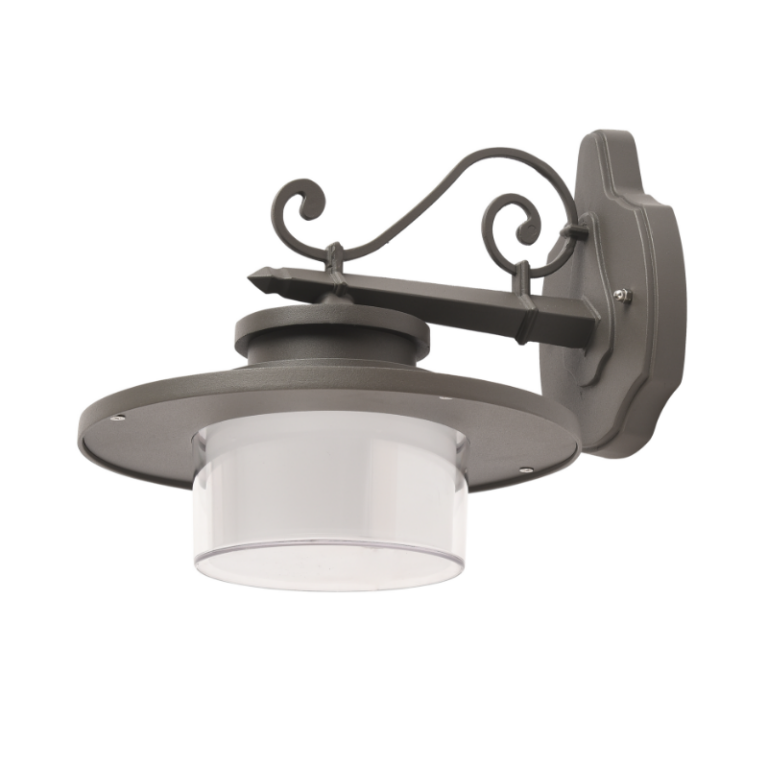
How glare and light trespass form in pier mounts
Glare and artifacts usually come from a few mechanical and optical mismatches: excessive lumen output, overly wide beam angle, improper mounting height, or lack of proper shielding. A high lumen LED source with a cool color temperature and a broad beam projects more into windows and the sky. Conversely, a well-specified full cutoff fixture controls beam spread and reduces vertical spill. Key terms to watch: lumen output, beam angle, cut-off, and mounting height—all of which directly affect perceived glare.
Diagnosing the bottleneck: measure before you change
Don’t guess. Start with simple observations and one or two measurements. Use a lux meter to record horizontal and vertical illuminance at occupant eye level, and note the specific fixtures contributing the most spill. If available, consult the Illuminating Engineering Society (IES) guidance for recommended illuminance ranges and the International Dark-Sky Association (IDA) on skyglow reduction—both are commonly accepted anchors for compliance and best practice. Also check fixture photometrics (candela distribution) to identify unexpected peak angles.
Targeted fixes for pier-mounted fixtures
Fixes are usually incremental and low-cost when you follow a logical sequence. Try these options in order of invasiveness:
- Lower lumen specification or install a dimmable driver to reduce peak brightness.
- Add or retrofit external shields or visors to create a sharp cut-off and limit upward light—this is often quicker than changing the entire fixture.
- Adjust beam angle or replace the lens optics with narrow-beam inserts to focus light on the path and away from façades.
- Raise or lower mounting height to change the distribution footprint; small height tweaks can reduce direct glare into windows.
- Shift to warmer color temperature (2700–3000 K) to reduce perceived glare and improve color rendering for architecture.
Where practical, substitute with full cut-off pier heads or specify precision optics designed for outdoor wall lighting applications—they reduce vertical spill without raising wattage.
Common mistakes that prolong the problem
Teams often make the same three errors: assuming photometrics on paper match in-field results; ignoring surrounding reflective surfaces like glass and water; and changing a single parameter only (like lumen) without considering optics or mounting geometry. Don’t skip a trial run—set up a temporary shield or dimming schedule and observe at multiple times of night. Small changes can reveal unintended artifact patterns—so test broadly.
A simple troubleshoot workflow
Follow this short, repeatable workflow to move from complaint to solution:
- Document: photograph the artifact from affected vantage points and note fixture IDs.
- Measure: record lux and note beam angles and color temperature at the scene.
- Isolate: temporarily dim or shield one fixture to confirm the culprit.
- Iterate: apply the least invasive fix first (shield, lens change, dimming), then re-measure.
- Document again: update as-built drawings and photometric files for future reference.
This process keeps changes reversible and provides a clear audit trail for maintenance teams—useful when you need to show regulators or stakeholders that action was taken.
Practical trade-offs and selection tips
Fixes that work well at scale often balance optics, controls, and mounting. Optical control reduces the need for lower lumen (which can compromise safety), while controls like adaptive dimming help preserve ambience without constant manual changes. If you must replace fixtures, favor models with replaceable optics and drivers—future changes should be modular, not total replacements. —
Golden rules for choosing the right strategy
1) Measure what you see. Use objective lux readings and photometric files to rank interventions by expected impact. 2) Prioritize optical control. A full cut-off or shielded lens typically reduces both glare and skyglow more effectively than simply reducing lumens. 3) Design for adaptability. Specify modular fixtures and networked controls so you can tune output seasonally or after façade changes.
Applied correctly, these rules cut complaints, protect architectural intent, and simplify maintenance—Keyida’s product design philosophy aligns with this practical balance of optics and controls, making real-world fixes faster and less disruptive. Keyida. —