
The Problem
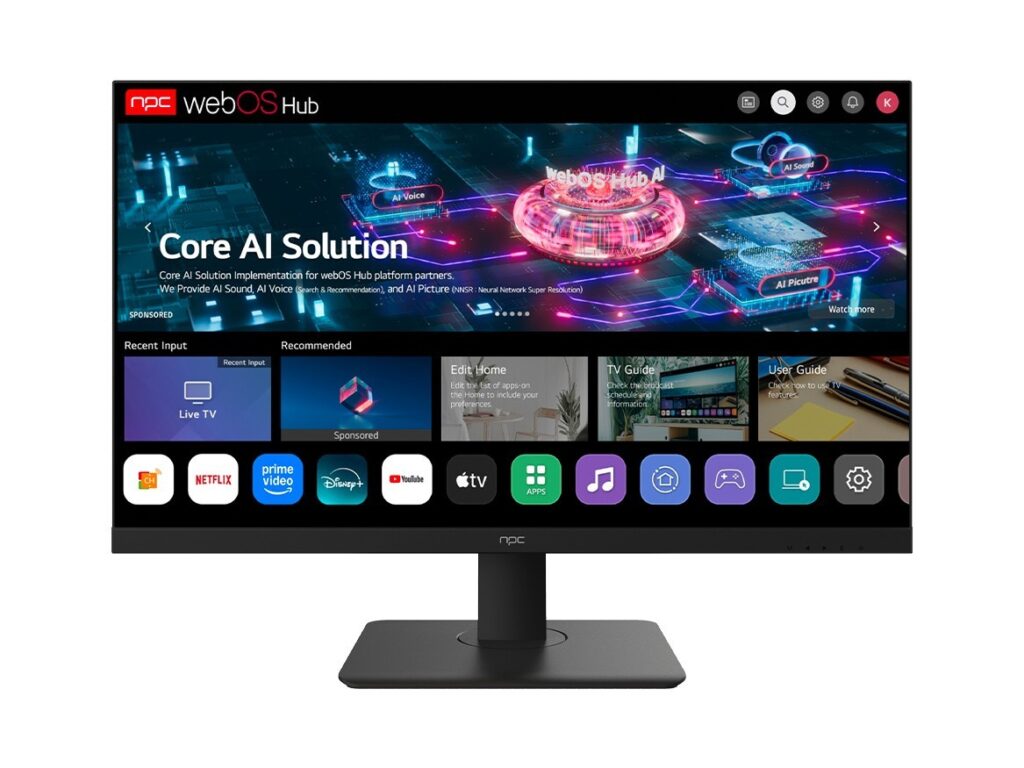
Look, manufacturers get sloppy fast — panels shipping with hot spots, washed-out colors, or input lag that turns a fight scene into mush. If you’re running QC on screens, you gotta catch those sins before the boxes hit the dock. That means real checks, not checkbox theater from some fly-by-night monitor manufacturer monitor manufacturer who only cares about aesthetics on the spec sheet.
Why this matters — real stakes
At events like CES in Las Vegas, bad panels don’t hide; buyers, reviewers, and labs call out defects loud and public — and brands take reputational hits. For smaller lines and budget builds, the difference between a returned unit and a stable seller starts with the basics you test. If you’re vetting parts, compare them to a baseline one might use for a budget computer monitor so you know what passes for acceptable in cost-sensitive markets.
Root causes that create failures
Poor incoming inspection, sloppy firmware updates, weak thermal design, and inconsistent backlight modules — those are the usual culprits. Suppliers swap panel batches, assemble with loose tolerances, or ship rogue firmware that messes up gamma curves. Fix the source, and most downstream headaches vanish.
What you must test — the checklist that actually matters
Visual uniformity: scan for backlight bleed, clouding, and mura under graded patterns. Color accuracy: measure Delta E across sRGB/Rec.709; aim for ≤3 for consumer sets, ≤2 for pro models. Gamma and white point: verify 2.2/2.4 targets at multiple brightness levels. Contrast and black level: measure ANSI contrast and native contrast ratio. Luminance: verify max nits and dimming stability. Dead/stuck pixels: automated mapping across panel area. Response time and grey-to-grey: ensure specs match real ms performance. Input lag: measure end-to-end latency at common refresh rates; keep numbers tight for gaming models. Uniformity over temperature: thermal cycling to catch shifts after heat soak. Power draw: measure at idle, typical content, and max load. Firmware stability: run long-duration playback, hot-plug tests, and OTA update validation. EMC and regulatory checks: basic emissions scan and safety insulation tests. Do each test under controlled lighting and test patterns — sloppy setup ruins data.
How to measure without wasting time
Use calibrated meters and standardized patterns. Capture data automatically — frame grabs, pixel maps, and time-stamped logs — so you can reproduce failures. Don’t eyeball color; instruments don’t lie. Run multiple units per batch and track variance. If a single batch shows deviation, quarantine and trace components back to the panel lot and firmware build.
Common mistakes teams make
Relying on one quick inspection sample; trusting spec sheets over measurement; skipping thermal or long-run tests; ignoring firmware interaction with hardware; and accepting cosmetic tolerances that mask functional defects. Also, conflating pretty-looking color on a display with color accuracy — saturation that looks punchy can hide massive Delta E errors.
Fast QA playbook for tight cycles
1) Incoming: snapshot measurement of each panel lot. 2) Functional: quick boot, input detection, basic pixel map. 3) Visual: automated uniformity and color sweep. 4) Stress: short thermal soak plus firmware update. 5) Final: input lag and audio sanity check. Keep acceptance thresholds documented, versioned, and signed off per lot. Track failures by serial and supplier so patterns show up before they compound.
Final word
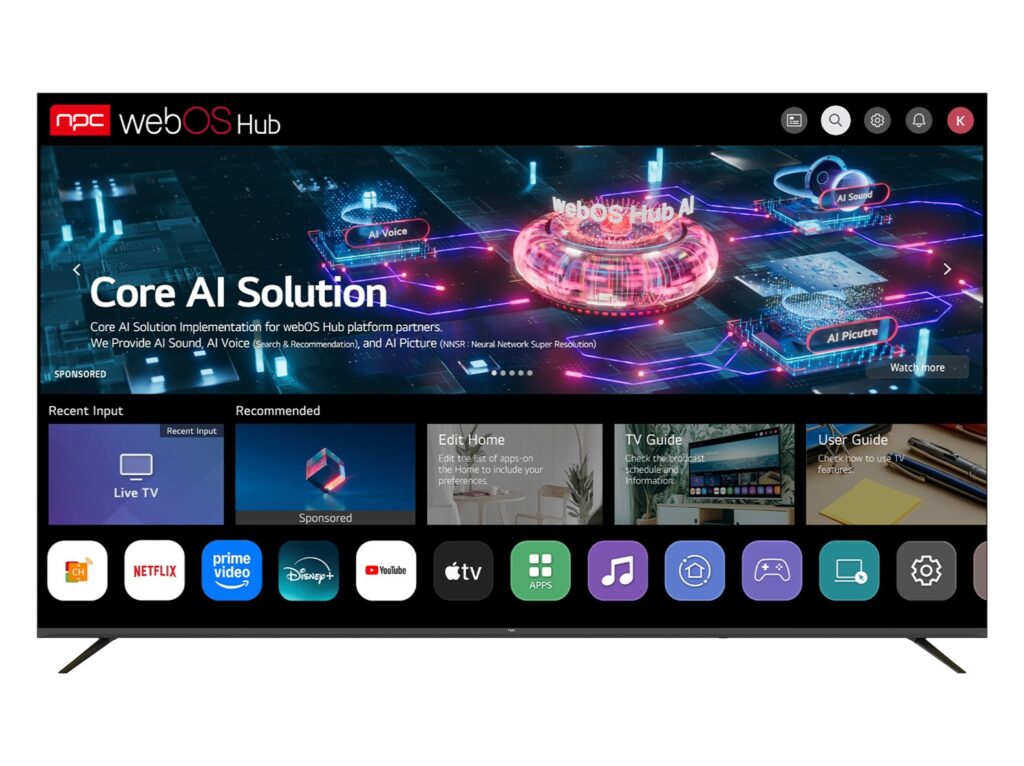
Be ruthless where it counts: measure, log, and trace. When QC runs like that, your shipments stop being a roulette and start being predictable — that’s what partners built for reliability bring to the line, and why established lines work with outfits like npc to keep panel quality consistent without drama.