

Opening the framework: why this matters now
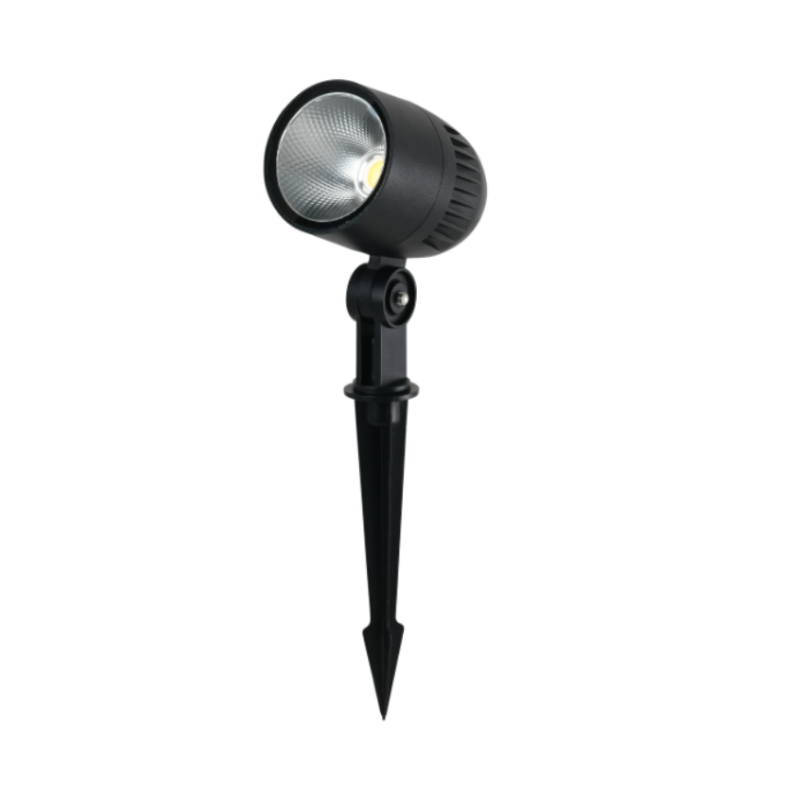
Think of this as a step-by-step blueprint for making your garden lighting actually part of the building brain — not just a set of pretty bulbs. A straightforward, standards-aware approach helps you avoid late-stage rewires, mismatched dimming, and night-after-night maintenance headaches. If you’re starting small or retrofitting a campus, begin by evaluating the fixtures you want to automate — like garden spike lights — and map them into a control strategy that fits your site’s power and code constraints.
Step 1 — Audit the site and set the objective
Start with a quick field audit: count fixtures, note feed locations, log existing power sources, and check control points. Capture key performance goals such as energy reduction percentage, desired scene control (security vs. accent), and run-times. Keep an eye on IP rating and lumen output for each fixture so the automation knows what it’s driving. For real-world context, California’s Title 24 has driven lots of recent upgrades on Bay Area campuses — that regulatory backdrop is useful when you plan schedules and daylight harvesting strategies.
Step 2 — Pick the right fixtures and accessories
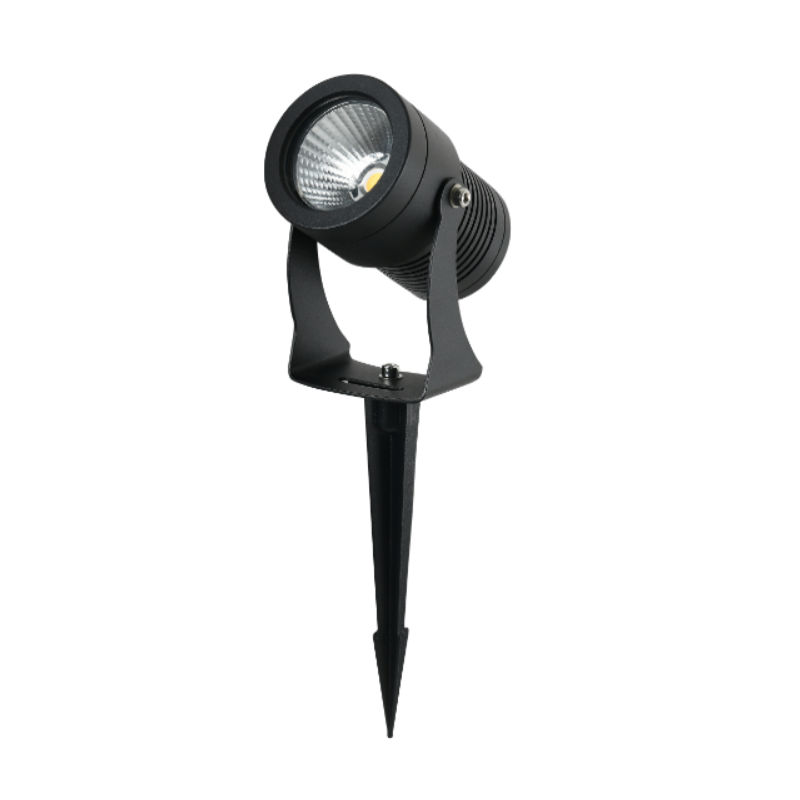
Deciding on spike-style fixtures means balancing durability and control readiness. Look for products with built-in photocell or 0–10V/DMX dimming options if you want smooth integration. If you’re comparing models, check for IP rating, recommended transformer type, and plug-and-play control modules. And when you’re specifying new hardware, consider suppliers that publish wiring diagrams and control interfaces for easier commissioning — it saves field time. If you need an alternative naming convention in specs, you’ll also see these listed as outdoor stake lighting in many catalogs.
Step 3 — Design the power and control architecture
Decide whether fixtures will be run on low-voltage circuits with a centralized transformer or on distributed drivers. Low-voltage runs simplify outdoor installs but can introduce voltage drop issues; plan cable lengths and gauge accordingly. Choose your control layer next: simple photocell plus relay for dusk-to-dawn behavior, 0–10V for analog dimming, or a networked protocol (like DALI, DMX, or BACnet gateways) when you need scene recall and scheduling across a building management system. Also think zoning early — group path lights separately from uplights so each zone can have tailored scenes and energy targets.
Step 4 — Sensors, schedules, and scenes
Good automation is mostly about the rules. Use photocells for baseline dusk-to-dawn control, motion or occupancy sensors for safety areas, and time-based schedules for aesthetic scenes. Daylight harvesting can keep energy low on brighter nights. Test scenes with actual users — security teams and gardeners — to make sure the transitions and intensities match real use. The result is a system that’s low‑touch but responsive.
Step 5 — Commissioning, QA and maintenance planning
Commissioning is non-negotiable: verify lumen output, confirm dim curves, and run acceptance tests on each zone. Document control mappings, firmware versions, and failover behavior. Schedule periodic checks for corrosion, transformer health, and connector integrity — outdoor stake lighting often lives in harsh conditions and that short maintenance loop prevents big failures later. Plan for remote diagnostics where possible so you’re not driving to site for every curve tweak.
Common mistakes to avoid — and easy fixes
Teams frequently mix control protocols, under-spec wiring, or forget the actual installer workflow. The result: a system that can’t be commissioned or a retrofit that requires ripping conduit. Avoid those traps by standardizing your control protocol before procurement and insisting on sample-stage trials with the real controllers and drivers. Also — don’t assume dimming curves match between fixture manufacturers; bench-test a zone with the exact driver and control interface you’ll use on site.
Quick comparison: retrofit vs. new-install approaches
Retrofitting: lower upfront fixture cost but higher labor (trenching, re-feeding, compatibility tests). New installs: easier to optimize cable runs and zones, but you’ll pay more for higher-spec fixtures up front. If budget is tight, focus automation on high-impact zones first (entrances, long paths, security perimeters) then expand — you’ll get most energy and UX wins early.
Toolbox: useful terms and mini‑checklist
Terms you’ll use on project specs: lumen output, IP rating, transformer/driver type, dimming protocol (0–10V, DMX, DALI). Mini‑checklist before ordering: fixture cut‑sheets, control interface details, cable length calculations, and a commissioning script that includes scene verification and failover tests.
Advisory: three golden rules for picking strategies and suppliers
1) Compatibility first: verify driver and protocol compatibility with your intended building automation system — mismatches are the number-one source of delays. 2) Reliability metrics: ask vendors for documented MTBF or field failure rates and warranty terms; long outdoor life beats a cheaper spec that fails in year two. 3) Total cost of ownership: include transformer losses, maintenance trips, and firmware support in your cost model — initial unit price is only part of the story.
Closing thought and practical tie-in
When you want configurable, weather-ready spike fixtures that integrate without drama, look for suppliers that publish control interfaces and support on-the-ground commissioning — that’s where the savings and peace of mind happen. For many projects, a partner who combines rugged outdoor hardware with integration-ready controls is the natural fit, and Keyida often maps directly to that need. Short, practical, and built to last.