
Framework lead: why a stepwise plan matters
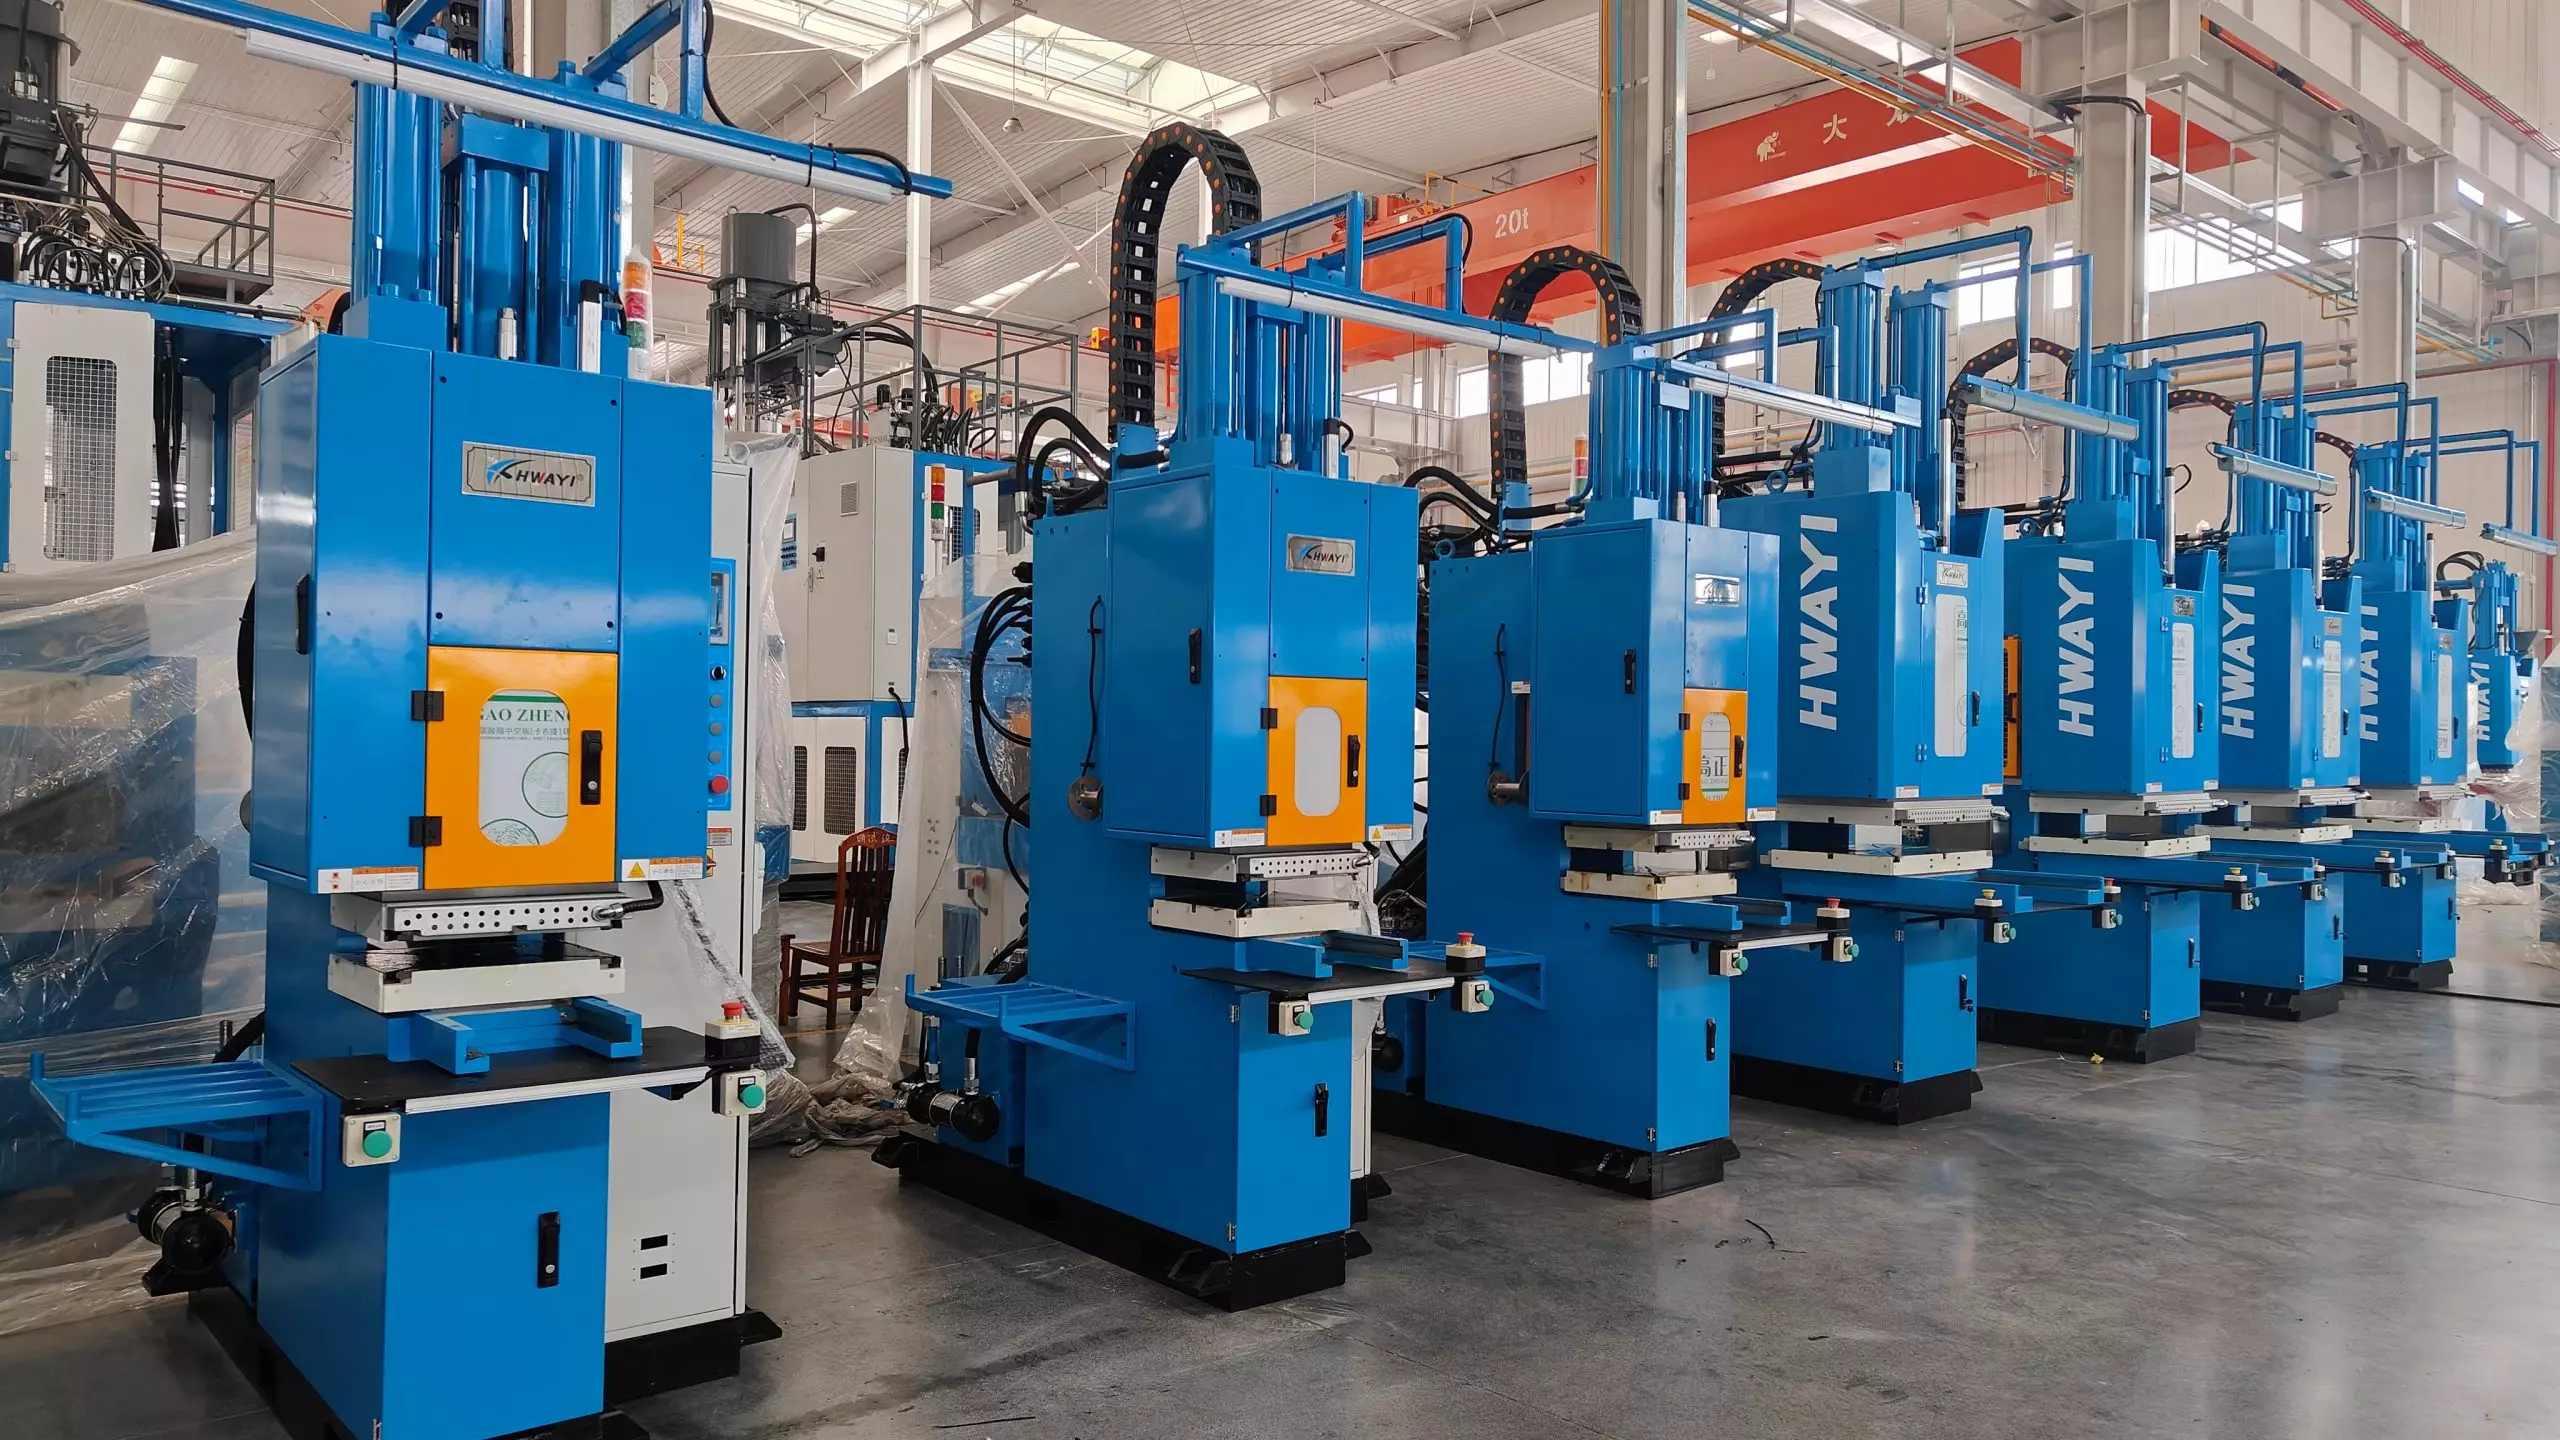
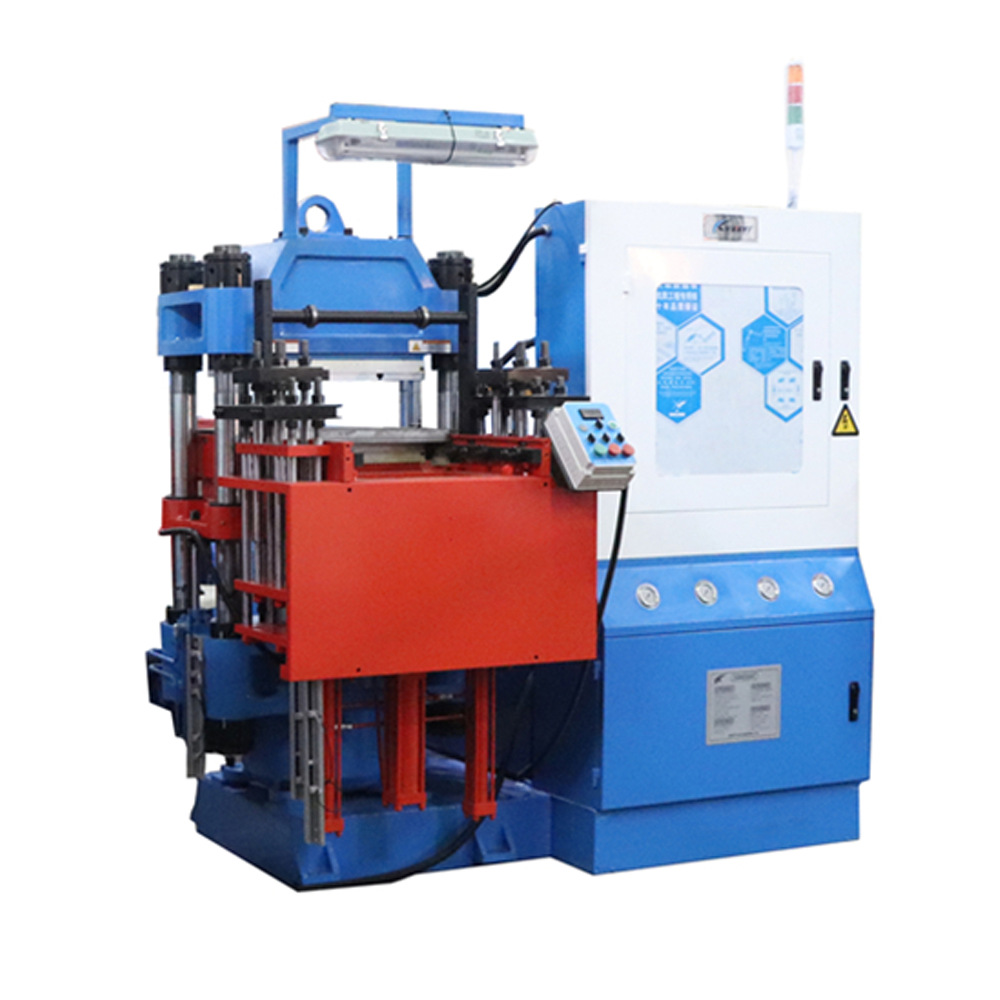
I lay out a straight, step-by-step framework for hauling and setting down heavy kit like a multi-ton horizontal injection machine. Start with the basics: know the machine weight, footprint, and the lift points. Folks shipping related gear — even a rubber vulcanizing machine — run into the same traps. I draw from real deliveries that crossed major hubs and weathered the 2021 Suez Canal disruption; that event showed how fragile timing can be and why planning the rigging and crane capacity matters.
Step 1 — Define the machine profile
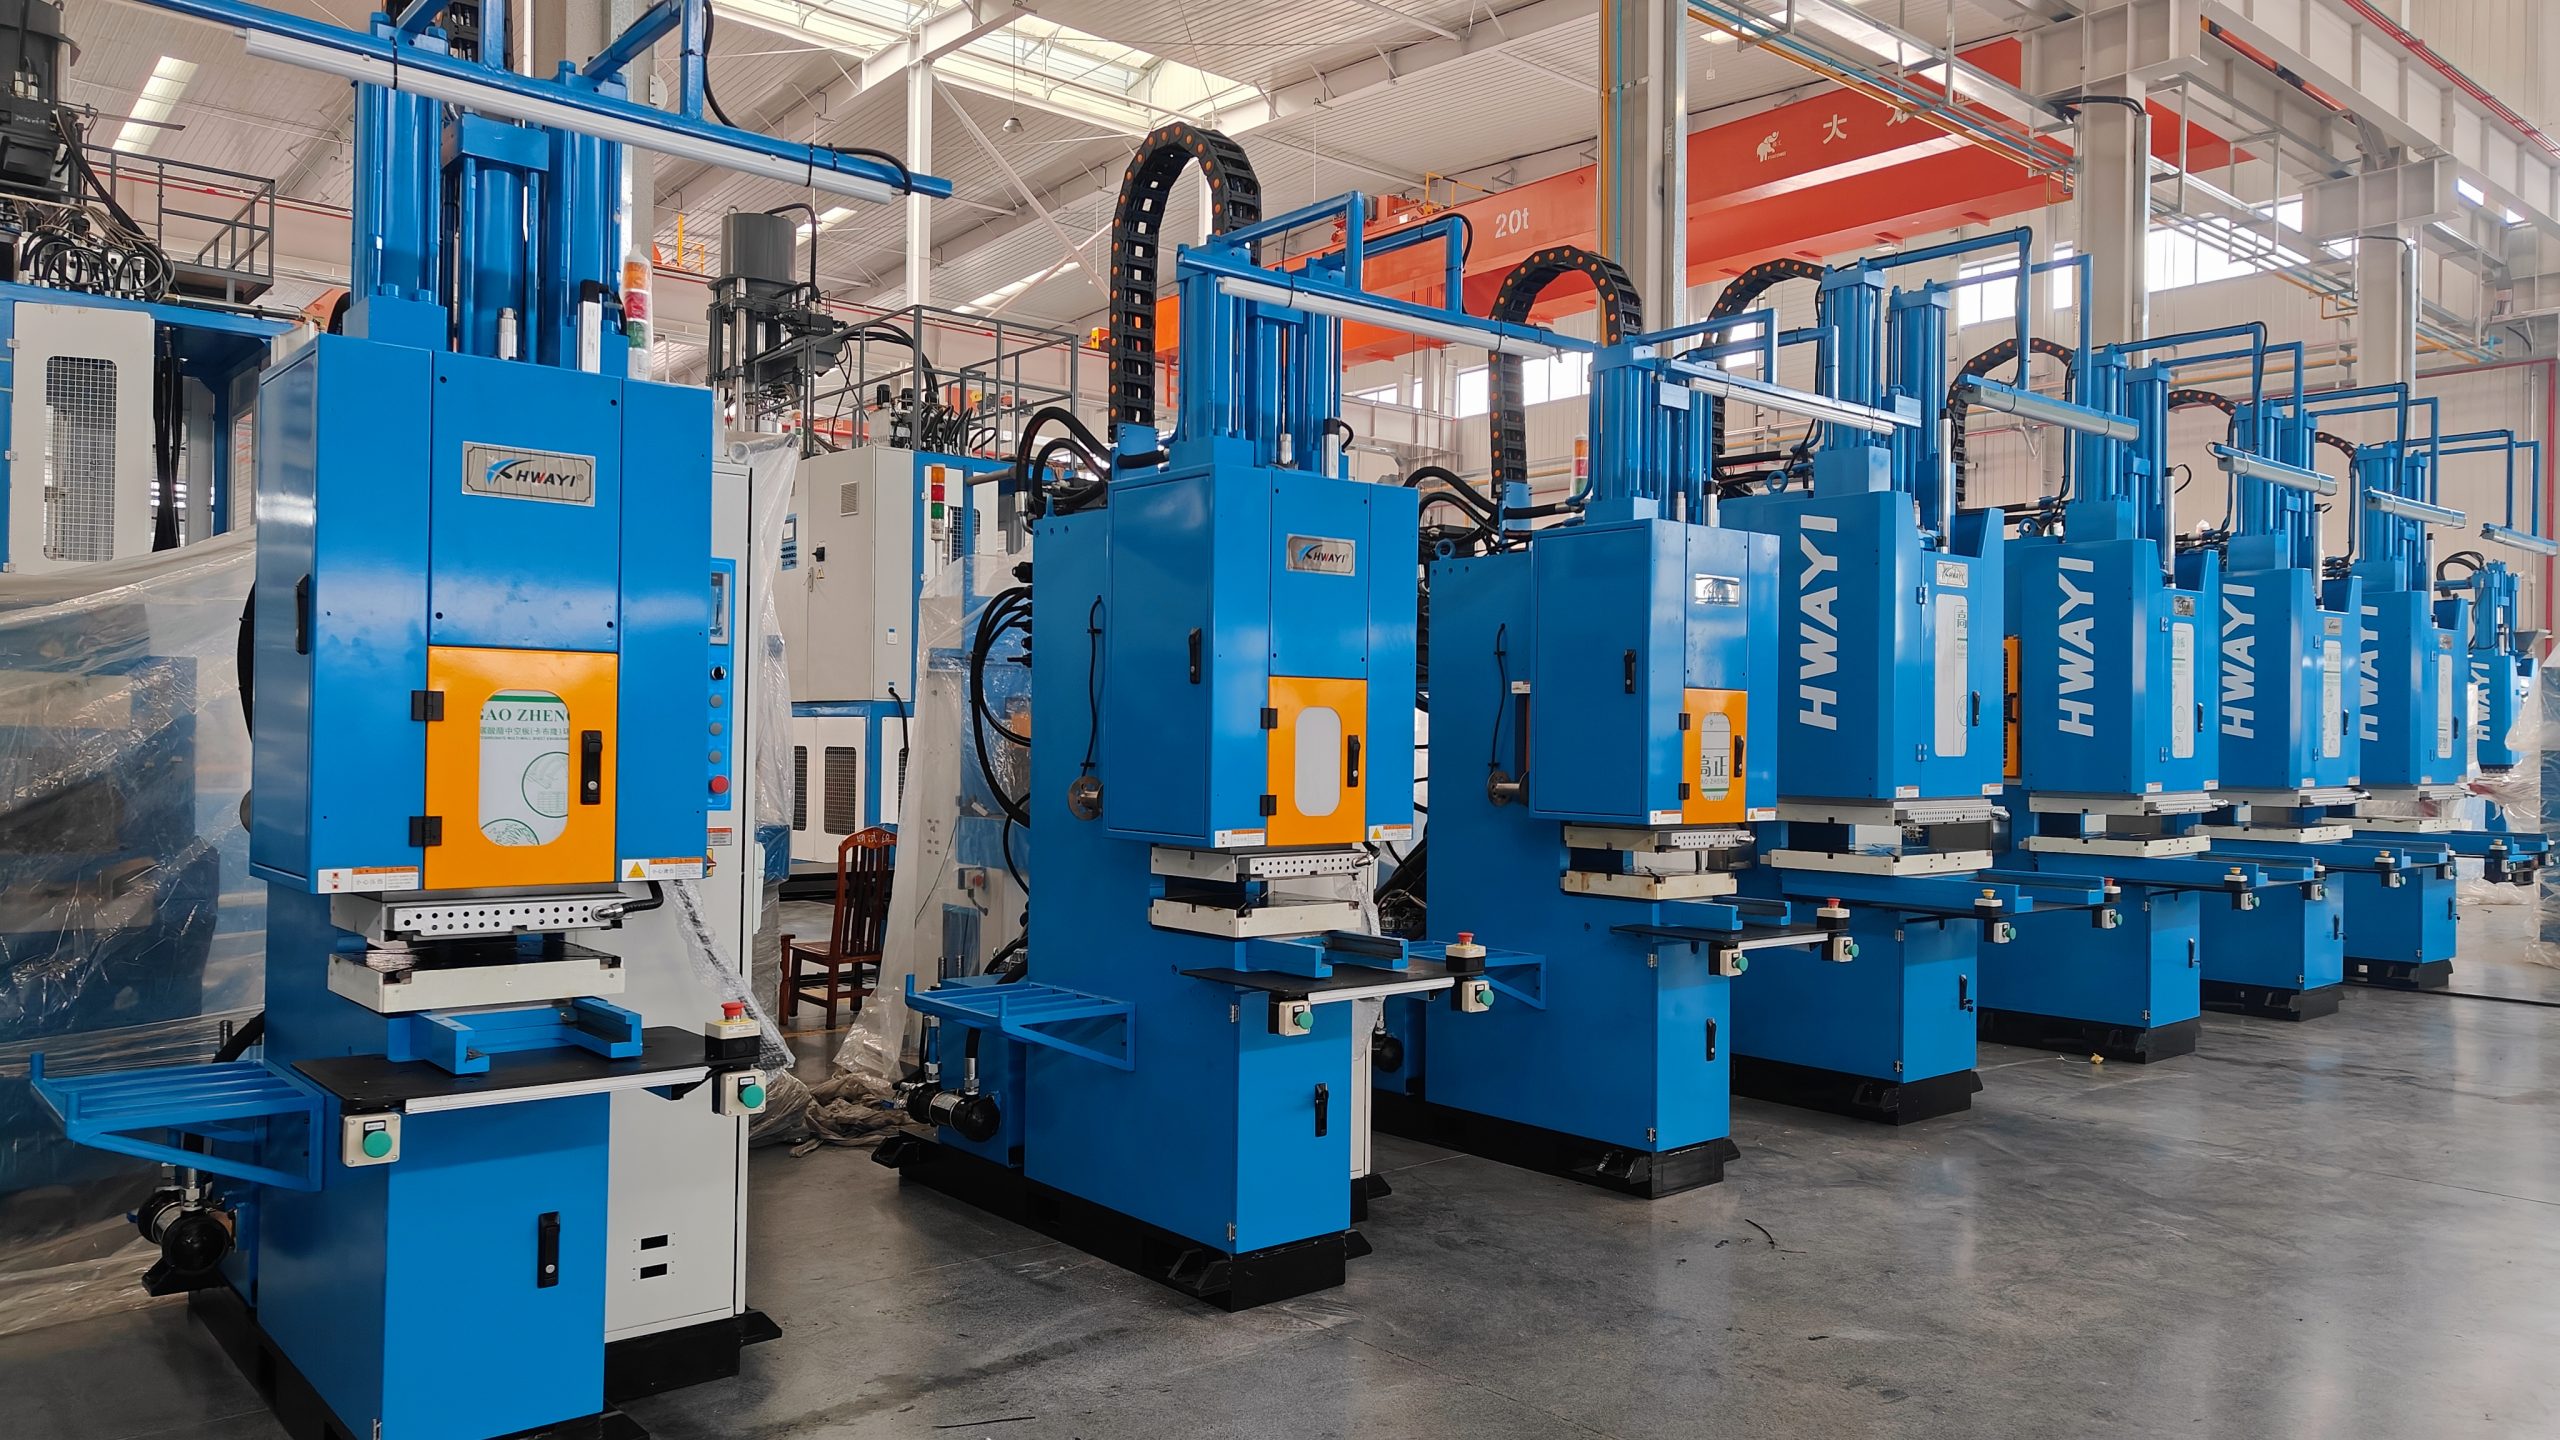
Write down gross weight, center of gravity, length and height. Note lifting lugs, skid points, and whether the press needs to ship with peripheral tooling. Find the machine’s load-out envelope and set tolerances for transport. Keep a simple spec sheet handy for carriers and the site crew — clear numbers beat guesses.
Step 2 — Map the route and handling nodes
Map each handling node: factory yard, port, rail terminal, highway route, and final plant gate. Check bridge clearances, crane availability at each node, and permitted axle loads. If a port like Rotterdam or Shanghai handles your container or RoRo move, confirm the terminal’s heavy lift gear and yard skidding options. Use a single point of contact at each node; that avoids the passing-the-buck problem.
Step 3 — Choose transport and onsite handling
Decide between low-bed haul, multi-axle trailer, or modular transport. Specify skidding versus crane set-down depending on site constraints. Include these items in your tender: certified rigging crew, dunnage, and a plan for shifting the center of gravity during lifts. Keep rigging specs tight — poor rigging is where jobs go sideways.
Step 4 — Prepare the site foundation and access
Verify foundation size, bearing capacity, and grout plan before the machine arrives. Pour or check anchor locations and mark clear pathways for the trailer and cranes. Confirm that overhead obstructions and utility lines are out of the way. Bring in temporary plates or timber for ground protection if soil’s soft — that saves a day or two and a headache later.
Dry run, tests, and checks
Run a dry fit or mock lift with the rigging crew, ideally using a weight dummy that matches the machine’s center of gravity. Check alignment points, test the grout process, and confirm utilities hook-up locations. Document each check and hand it to the assembly crew at handover — it’s the operating history that helps when things need tweaking.
Common mistakes and how to avoid them
People trip up by underestimating load-out time, skipping a crane recce, or forgetting to order dunnage. Another frequent slip is failing to coordinate crane capacity with the trailer’s load distribution. Fix these with clear responsibility assignments, a short timeline, and contingency days in the schedule — simple, but it works. — Keep communication tight between carrier, crane crew, and plant foreman.
Quick checklist before sign-off
– Machine spec sheet verified and shared with carriers.
– Route approved with axle/load permits secured.
– Crane booked with certified lift plan and spare window.
– Foundation inspected and grout schedule ready.
– Rigging crew briefed and dry run completed.
Advisory: three golden rules for picking strategies and tools
1) Match crane capacity to the absolute worst-case lift, not the nominal weight. 2) Verify foundation bearing and grout method — a solid base saves alignment headaches. 3) Assign a single accountable coordinator who signs off at each node and holds the paperwork.
Closing sentence
I’ve run these lifts and handled the paperwork; trust a plain plan and experienced hands — HWAYI. Small grain.